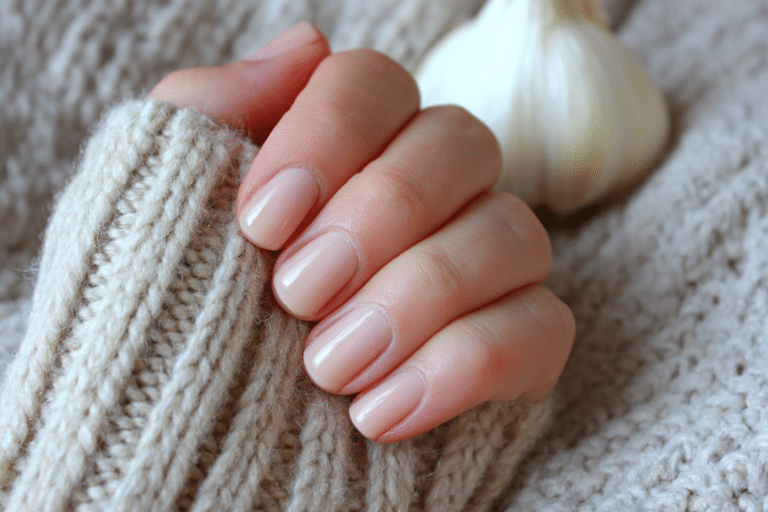
Nail Care: Essential Tips for Healthy, Beautiful Nails

Nail care encompasses the practices and techniques used to maintain healthy, strong, and beautiful nails through proper hygiene, treatment, and protection.
Whether you’re a professional nail technician or someone who loves at-home manicures, understanding proper nail care is essential for achieving long-lasting results and preventing damage. This comprehensive guide covers everything from basic maintenance to advanced gel nail application, helping you develop a routine that keeps your nails looking salon-fresh while maintaining their natural strength and health.
| Topic | Details |
|---|---|
| Category | Nail Care / Gel Nails |
| Skill Level | Beginner to Advanced |
| Time Needed | 30-60 minutes per session |
| Tools Needed | Nail file, buffer, cuticle oil, base coat, top coat, UV/LED lamp |
| Best For | Anyone seeking healthy, well-maintained nails |
Table of Contents
Why This Nail Care Approach Works
Proper nail care works because it addresses both the aesthetic and health aspects of your nails simultaneously. The nail plate is composed of layers of keratin protein, and maintaining its integrity requires consistent hydration, protection, and gentle handling. When you follow a structured nail care routine, you prevent common issues like peeling, breakage, and infections that can compromise both the appearance and health of your nails.
Professional nail care techniques focus on strengthening the natural nail bed while creating a protective barrier through products like gel polish and quality base coats. This approach allows your nails to grow longer and stronger without the brittleness that often comes from neglect or harsh treatments. The cuticle, which acts as a seal protecting the nail matrix from bacteria, receives special attention in proper nail care protocols to prevent infections and encourage healthy nail growth.
The combination of regular maintenance, quality products, and proper application techniques creates an environment where nails can thrive. By understanding the science behind nail health and implementing professional-grade practices, you achieve results that last weeks rather than days, saving time and money while keeping your nails in optimal condition.
Tools and Products Needed for Nail Care
| Product | Purpose | Alternatives |
|---|---|---|
| UV/LED Lamp | Cures gel polish for long-lasting wear | Natural sunlight (less effective), air-dry polish |
| Base Coat | Protects natural nail and improves adhesion | Ridge-filling base, strengthening base |
| Gel Polish | Provides color and durability | Regular polish, dip powder |
| Nail File (180 grit) | Shapes nail edges and smooths surfaces | Glass file, emery board |
| Nail Buffer | Smooths nail plate for even application | Fine-grit file, buffing block |
| Cuticle Oil | Hydrates cuticles and nail beds | Vitamin E oil, jojoba oil, coconut oil |
| Top Coat | Seals polish and adds shine | Gel top coat, regular top coat |
| Cuticle Pusher | Gently pushes back cuticles | Orange wood stick, silicone pusher |
| Nail Cleanser | Removes oils and debris | Rubbing alcohol, acetone |
For professional-quality results at home, explore our full range of nail care products and tools at Gel Nails by Lina, where you’ll find everything needed for salon-perfect manicures.
Step-by-Step Nail Care Application Guide
Nail Preparation
- Remove any existing polish completely using acetone or a quality polish remover, ensuring no residue remains on the nail surface.
- Wash hands thoroughly with soap and water to eliminate oils, dirt, and bacteria that could interfere with product adhesion.
- Trim nails to your desired length using sharp nail clippers, cutting straight across to prevent ingrown nails.
- File nails in one direction using a 180-grit file, shaping edges into your preferred style without sawing back and forth.
- Push back cuticles gently using a cuticle pusher, working at a 45-degree angle to avoid damaging the nail bed.
- Buff the nail surface lightly to remove shine and create a slightly rough texture for better product adhesion.
- Clean nails with a lint-free wipe soaked in nail cleanser or rubbing alcohol to remove all oils and dust.
Base Coat Application
- Apply a thin layer of base coat starting from the center of the nail and working outward toward the edges.
- Cap the free edge by running the brush along the tip of the nail to seal and prevent chipping.
- Avoid flooding the cuticle area by leaving a tiny gap between the product and the skin.
- Cure under a UV/LED lamp according to manufacturer instructions, typically 30-60 seconds for LED or 2 minutes for UV.
Gel Polish Layers
- Apply the first thin layer of gel polish using the same technique as the base coat, maintaining even coverage.
- Cure the first color coat under the lamp for the recommended time, usually 30-60 seconds.
- Apply a second thin layer of gel polish to achieve full opacity and rich color saturation.
- Cure the second coat thoroughly, ensuring complete polymerization for maximum durability.
- Check for any missed spots or uneven areas before proceeding to the top coat stage.
Curing Process
- Position your hand completely inside the lamp, ensuring all nails receive equal light exposure from all angles.
- Keep nails still during the entire curing process to prevent smudging or uneven curing.
- Follow exact timing recommendations for your specific gel polish brand, as formulas vary in curing requirements.
- Allow the lamp to complete its full cycle before removing your hand to ensure proper hardening.
Finishing and Top Coat
- Apply a thin layer of gel top coat over the entire nail, including the free edge for complete sealing.
- Cure the top coat for the full recommended time, typically 60 seconds for a no-wipe formula.
- Remove the sticky residue layer if using a traditional top coat by wiping with cleanser on a lint-free pad.
- Apply cuticle oil generously around each nail and massage into the skin to restore hydration.
- Allow nails to rest for 5-10 minutes before exposing them to water or performing tasks to ensure complete hardening.
Pro Nail Technician Tips for Perfect Nail Care
- Apply thin layers of gel polish rather than thick coats to prevent peeling, wrinkling, and incomplete curing that leads to premature chipping.
- Ensure proper nail preparation by thoroughly removing all oils and moisture, as this single step determines 80 percent of your manicure’s longevity.
- Cap the free edge with every layer of product including base coat, color, and top coat to create a seal that prevents water penetration and lifting.
- Avoid touching the cuticle area with gel products, leaving a microscopic gap that prevents lifting caused by natural nail growth and oil production.
- Cure each layer for the full recommended time plus an extra 10-15 seconds to ensure complete polymerization and maximum adhesion strength.
- Maintain your lamp bulbs by replacing them according to manufacturer guidelines, as weakened UV/LED output causes under-curing and poor wear time.
Discover more professional techniques and expert advice at Gel Nails by Lina, your trusted resource for all things nail care.
Common Gel Nail Care Mistakes
| Mistake | Why it Happens | How to Fix |
|---|---|---|
| Thick gel layers | Rushing the process or trying to achieve opacity in one coat | Apply multiple thin coats instead, allowing proper curing between each layer |
| Improper curing | Removing hand too early or using an outdated lamp with weak bulbs | Follow exact timing, replace lamp bulbs regularly, ensure full hand placement |
| Skipping nail prep | Wanting to save time or not understanding its importance | Always cleanse, buff, and dehydrate nails properly before any product application |
| Flooding the cuticle | Applying too much product or placing polish too close to skin | Use minimal product, leave a small gap, clean up excess before curing |
| Over-filing natural nails | Aggressive buffing or using too coarse a file on the nail plate | Use gentle pressure with 180-grit or higher files, buff lightly only to remove shine |
Nail Design Variations for Every Style
| Style | Description | Best Occasion |
|---|---|---|
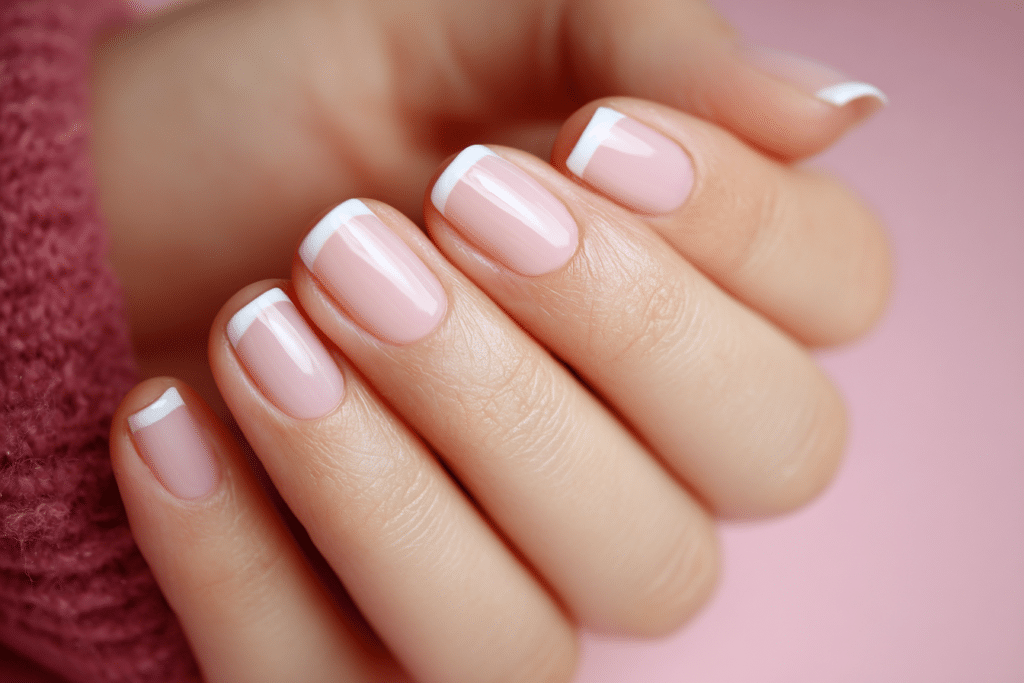
| French gel nails | Classic white tips with nude or pink base for timeless elegance | Weddings, professional settings, everyday wear |
| Chrome nails | Mirror-like metallic finish achieved with special powder over gel | Evening events, parties, fashion-forward looks |
| Ombre nails | Gradual color transition from light to dark or between two shades | Summer events, casual outings, creative expression |
| Minimalist nail art | Simple lines, dots, or geometric shapes on neutral backgrounds | Office environments, understated elegance, modern aesthetics |
| Seasonal nail designs | Theme-based art reflecting holidays, weather, or current trends | Holiday gatherings, seasonal celebrations, festive occasions |
Nail Care and Maintenance Between Manicures
Maintaining healthy nails between gel manicures requires consistent daily care and attention to hydration. Apply cuticle oil at least twice daily, massaging it into the cuticles and surrounding skin to prevent dryness and promote healthy nail growth. This simple habit keeps the nail bed flexible and prevents the lifting that occurs when nails become dehydrated. Wear gloves when cleaning or washing dishes to protect your manicure from harsh chemicals and excessive water exposure that can weaken the gel bond.
Avoid using your nails as tools to open cans, scratch surfaces, or peel stickers, as this creates stress points that lead to cracking and peeling. Keep your hands moisturized with a quality hand cream, paying special attention to the areas around your nails where skin tends to dry out quickly. If you notice any lifting at the edges, resist the urge to peel or pick at the gel, as this removes layers of your natural nail and causes significant damage.
Schedule regular manicure appointments every 2-3 weeks to maintain optimal nail health and appearance. This timing allows for proper removal and reapplication before significant growth creates imbalance or lifting. Between professional services, monitor your nails for signs of infection, unusual discoloration, or damage that may require attention from a healthcare professional or dermatologist.
How to Remove Gel Nails Safely
- File the shiny top coat layer using a medium-grit file to break the seal and allow acetone penetration.
- Soak cotton pads in pure acetone and place one on each nail, covering the entire surface area.
- Wrap each fingertip tightly with aluminum foil to prevent acetone evaporation and increase effectiveness.
- Wait 10-15 minutes, allowing the acetone to dissolve the gel polish without forcing or peeling.
- Remove foil and cotton pads, then gently push off softened gel using an orange wood stick or cuticle pusher.
- Soak any remaining gel for an additional 5 minutes rather than scraping or forcing removal.
- Buff nails lightly to smooth any rough patches, then wash hands thoroughly with soap and water.
- Apply cuticle oil and hand cream generously to restore moisture lost during the acetone soaking process.
Nail Health and Safety Considerations
Protecting your nail health requires awareness of potential risks associated with improper nail care practices. Over-filing the natural nail plate thins the protective keratin layers, making nails weak, flexible, and prone to infection. Always use files with appropriate grit levels and apply minimal pressure, working in one direction rather than sawing back and forth. Excessive buffing can generate heat and damage the nail bed, so limit buffing to light surface smoothing only when necessary.
Watch for signs of nail infections including redness, swelling, pain, or discoloration around the nail bed or under the nail plate. These symptoms may indicate bacterial or fungal infections that require medical attention. Maintain strict hygiene by sanitizing all nail tools before and after each use, never sharing implements with others. According to dermatologists at the American Academy of Dermatology, proper sanitation prevents the spread of infections that can cause serious nail damage and health complications.
Allow your nails to breathe between gel manicures by taking occasional breaks every few months. This recovery period lets your natural nails regain strength and moisture, preventing the brittleness that can develop from continuous gel wear. If you experience persistent pain, unusual nail changes, or concerns about nail health, consult a dermatologist who specializes in nail conditions for professional evaluation and treatment recommendations.
Frequently Asked Questions About Nail Care
How long do gel nails last with proper care?
Gel nails typically last 2-3 weeks with proper application and care, though some people experience up to 4 weeks of wear. The longevity depends on factors including your natural nail growth rate, daily activities, and how well you maintain hydration and avoid harsh chemicals. Proper nail preparation and thin, even layers of gel polish significantly extend wear time by preventing premature lifting and chipping.
How do I remove gel nails safely at home?
Remove gel nails safely by soaking them in pure acetone for 10-15 minutes after filing off the top coat layer. Wrap each nail in acetone-soaked cotton and aluminum foil to maximize effectiveness and prevent evaporation. Never peel or force gel polish off, as this removes layers of your natural nail and causes lasting damage that takes months to repair.
What is the difference between gel nails and acrylic nails?
Gel nails are cured under UV or LED light and offer a more flexible, natural-looking finish with less odor during application. Acrylic nails use a liquid monomer and powder polymer system that air-dries to create a harder, more durable enhancement ideal for length and strength. Gel nails are generally easier to remove and cause less damage to natural nails when applied and removed properly.
Why do my gel nails peel after only a few days?
Gel nails peel prematurely due to inadequate nail preparation, particularly when natural oils are not properly removed before application. Other common causes include applying layers too thickly, under-curing the product, or flooding the cuticle area with gel polish. Ensure you thoroughly cleanse and lightly buff nails, apply thin coats, cure fully, and leave a microscopic gap at the cuticle to prevent lifting.
How can I make my gel nails last longer?
Make gel nails last longer by applying cuticle oil twice daily, wearing gloves during household chores, and avoiding using your nails as tools. Proper preparation including nail cleansing, light buffing, and complete dehydration before application creates the foundation for extended wear. Capping the free edge with every layer of product and applying thin, fully-cured coats prevents water penetration and premature breakdown of the gel polish.
For more detailed guidance and professional nail care products, visit Gel Nails by Lina for comprehensive resources and expert recommendations.
Conclusion
Mastering proper nail care techniques transforms your manicures from temporary polish applications into long-lasting, healthy nail enhancements. By following professional preparation methods, using quality products, and maintaining consistent hydration, you achieve salon-quality results that protect and strengthen your natural nails. Whether you prefer classic French tips or trendy nail art designs, the foundation of beautiful nails always begins with proper nail care practices. Start implementing these expert techniques today, and watch as your nails become healthier, stronger, and more beautiful with each passing week.