Nail Designer: Master the Art of Professional Gel Nail Design

A nail designer is a professional artist who specializes in creating beautiful, long-lasting nail designs using gel polish, intricate nail art, and advanced application techniques.
This comprehensive guide covers everything aspiring and experienced nail designers need to know about creating flawless French tips, simple elegant designs, and trendy nail art that clients love. Mastering these professional techniques transforms ordinary manicures into stunning works of art.
| Topic | Details |
|---|---|
| Category | Gel Nails / Nail Art / French Tips |
| Skill Level | Beginner to Advanced |
| Time Needed | 45-90 minutes per full set |
| Tools Needed | UV/LED lamp, gel polish, nail files, brushes, base and top coat |
| Best For | Aspiring nail designers and nail technicians seeking professional skills |
Table of Contents
Why Professional Nail Designer Techniques Work
Professional nail designer methods work because they combine proper nail preparation with precise application techniques that create strong adhesion between natural nails and gel products. When a skilled nail designer follows systematic protocols including surface preparation, thin gel layers, and proper curing times, the results last two to four weeks without chipping or lifting. The science behind gel nail longevity involves UV or LED light activating photoinitiators in gel polish formulas, creating a hard protective layer that bonds molecularly to prepared nail surfaces.
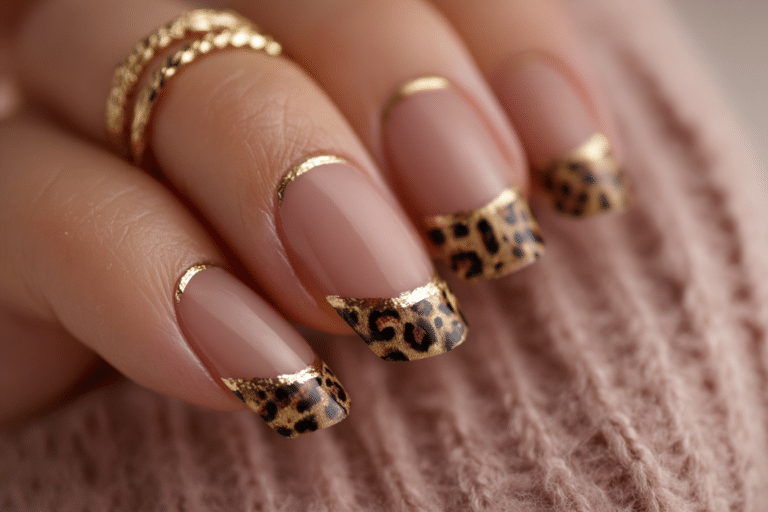
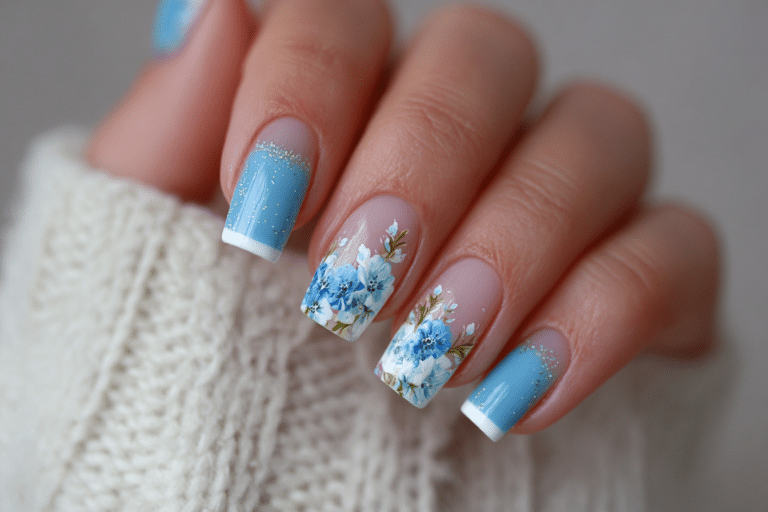
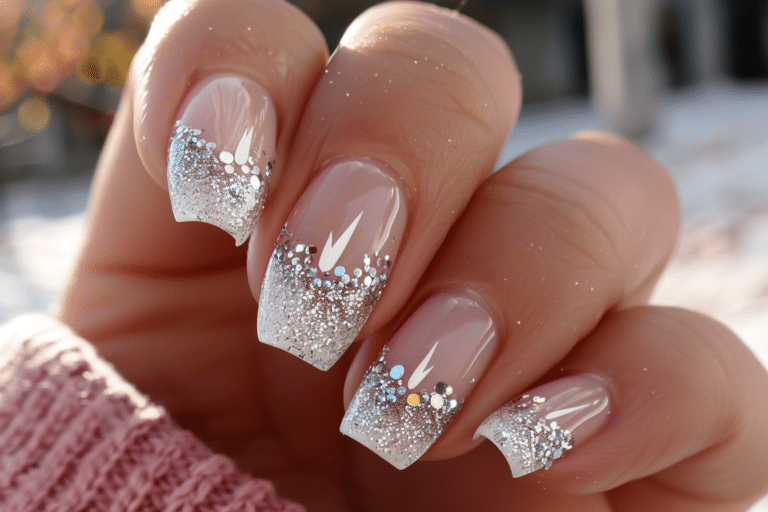
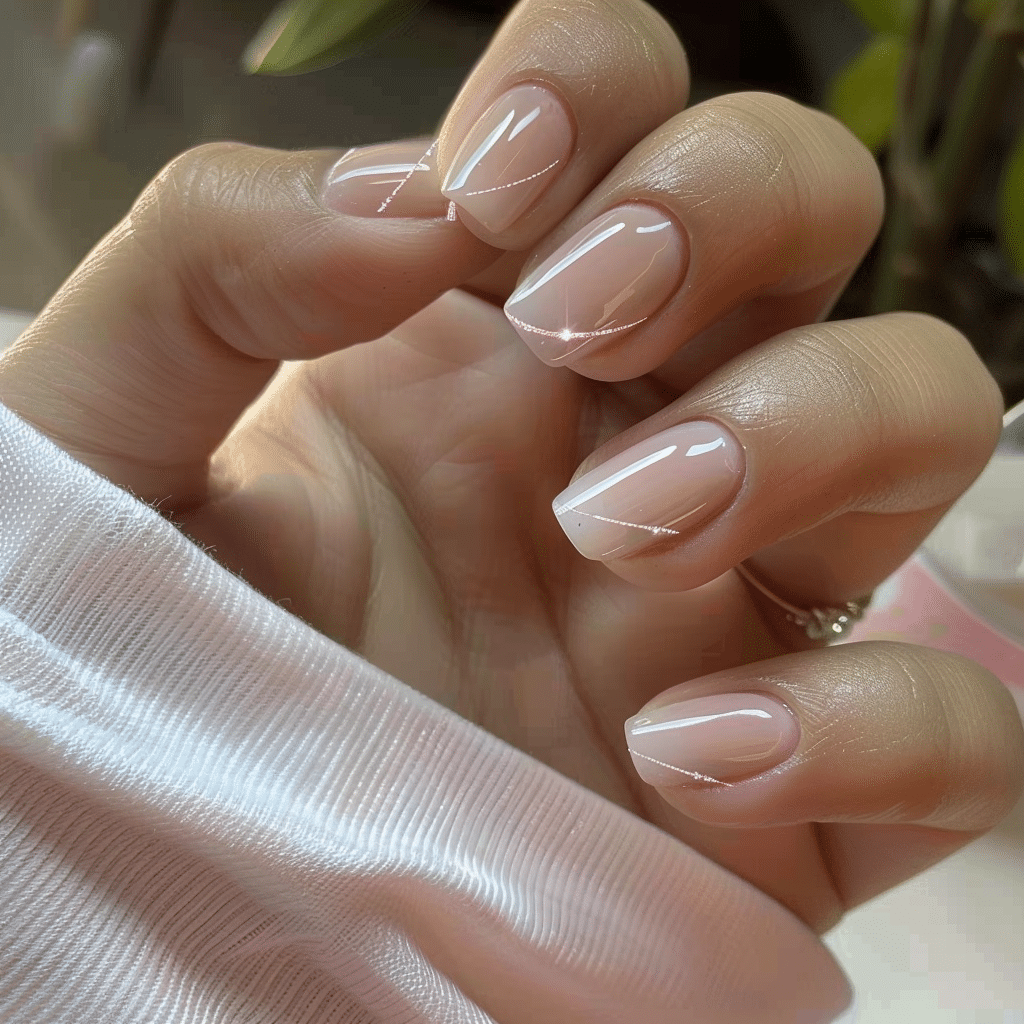
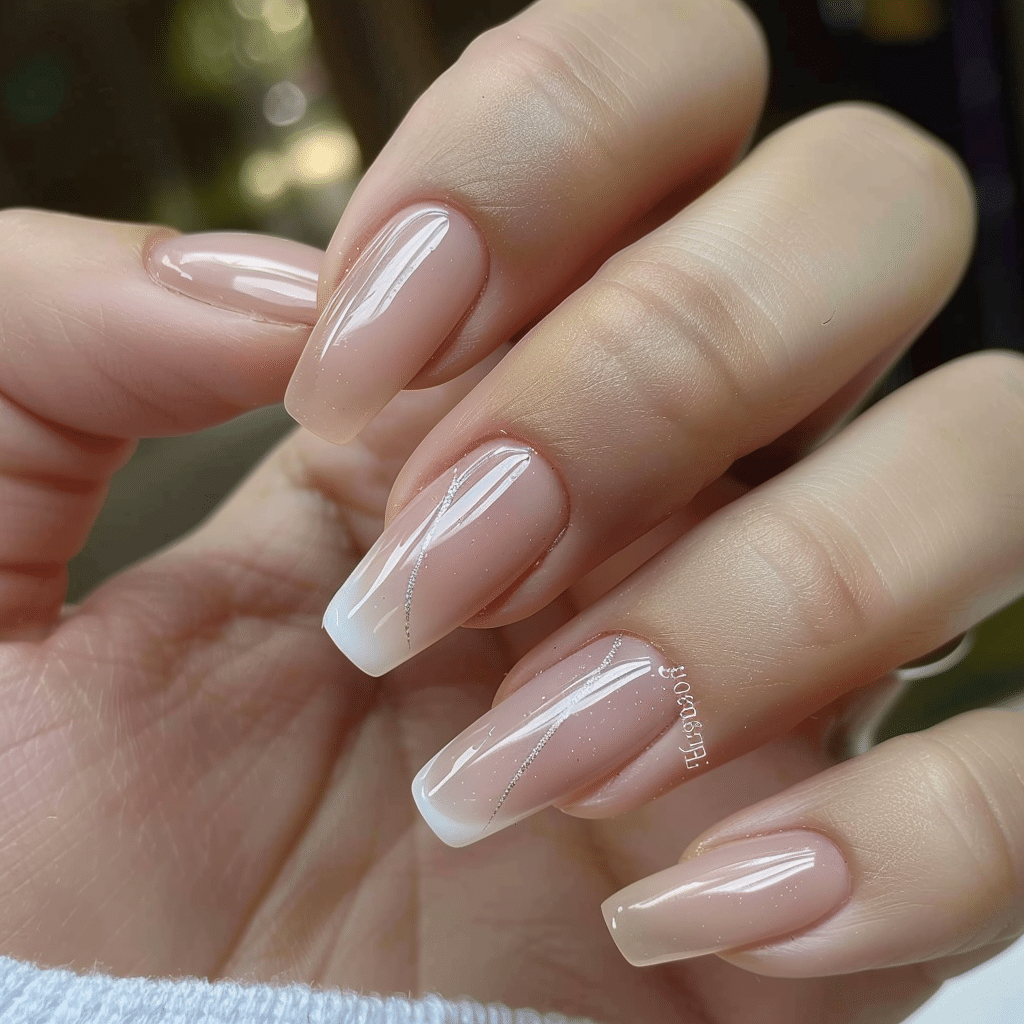
French tip designs remain timeless because they elongate the nail visually while maintaining versatility for any occasion. Modern nail designers have evolved classic French manicures into countless variations including colored tips, ombre fades, and geometric designs. These techniques work exceptionally well on square nails because the defined shape provides a clean canvas for precise tip application. Professional nail designers understand color theory, nail anatomy, and product chemistry to create designs that complement skin tones and withstand daily activities.
The popularity of simple, classy nail designs in 2025 reflects a shift toward understated elegance and wearable nail art. Clean French tips with minimal embellishments appeal to clients seeking professional appearances while still expressing personal style. Nail designers who master these foundational techniques can expand into more complex art while maintaining the quality standards that build loyal clientele.
Tools and Products Needed for Nail Designer Work
| Product | Purpose | Alternatives |
|---|---|---|
| UV/LED Lamp | Cures gel polish and creates hard finish | Dual-wavelength lamp for all gel types |
| Gel Base Coat | Provides adhesion and prevents staining | Rubber base for added strength |
| White Gel Polish | Creates classic French tips | Nude, pink, or colored gel for variations |
| Clear Top Coat | Seals design and adds shine | Matte or glossy finish options |
| Fine Detail Brush | Paints precise tip lines | Striping brush or dotting tool |
| Nail File 180 Grit | Shapes nail edges and length | Glass file for gentler shaping |
| Nail Buffer | Smooths nail surface for adhesion | Fine grit buffer block |
| Cuticle Pusher | Removes excess cuticle safely | Wooden or metal pusher |
| Cuticle Oil | Hydrates and maintains nail health | Vitamin E or jojoba oil |
| Gel Cleanser | Removes sticky layer after curing | Isopropyl alcohol 70% or higher |
| Nail Dehydrator | Removes oils for better adhesion | Nail primer or prep solution |
Professional nail designers invest in quality tools that last longer and produce superior results. You can find comprehensive nail care guides and product recommendations at Gel Nails by Lina, where expert techniques meet practical application advice.
Step-by-Step Nail Designer Application Guide
Nail Preparation
- Sanitize hands and nails thoroughly using antibacterial soap and water to eliminate bacteria and oils.
- Push back cuticles gently using a cuticle pusher at a 45-degree angle without cutting live skin.
- File nails into desired square or rounded shape using smooth, one-direction strokes from side to center.
- Buff the nail surface lightly with a 180-grit buffer to remove shine and create adhesion surface.
- Clean nails with gel cleanser or alcohol to remove all dust and oils from buffing process.
- Apply nail dehydrator to each nail and allow to air dry completely for 30 seconds.
Base Coat Application
- Apply thin layer of gel base coat starting from cuticle area and pulling toward free edge.
- Cap the free edge by swiping brush horizontally across nail tip to seal edges.
- Ensure base coat covers entire nail surface without flooding cuticles or side walls.
- Cure under UV lamp for 60 seconds or LED lamp for 30 seconds according to product specifications.
- Check for any lifted areas and reapply thin layer if necessary before proceeding.
French Tip Design Application
- Apply first thin layer of nude or pink gel polish to entire nail bed for base color.
- Cure the base color layer under lamp for recommended time based on gel type.
- Load fine detail brush with white gel polish, wiping excess on bottle rim.
- Paint white tip starting from one corner across free edge in smooth continuous motion.
- Create smile line at desired height, typically two to three millimeters from free edge.
- Keep smile line curved and symmetrical by following natural nail shape as guide.
- Apply second coat of white tip if needed for opacity after curing first layer.
Gel Polish Layers and Design Variations
- Apply second coat of base color if more coverage is needed for even finish.
- Cure each layer completely before adding additional designs or embellishments to prevent smudging.
- Add simple design elements like thin lines, dots, or geometric shapes using detail brushes.
- Create ombre effects by blending two gel colors with sponge applicator before curing.
- Keep design layers thin to prevent excessive bulk that causes premature lifting or cracking.
Finishing and Top Coat Application
- Apply generous layer of gel top coat over entire nail including all design elements.
- Cap free edge again with top coat to seal design and prevent chipping.
- Cure final layer under lamp for full recommended time, usually 60-90 seconds for LED.
- Wipe away sticky dispersion layer using lint-free wipe saturated with gel cleanser.
- Apply cuticle oil around all nail edges and massage into skin for hydration.
- Buff any rough edges gently with fine buffer if needed for smooth finish.
Pro Nail Designer Tips for Flawless Results
- Work with thin gel layers rather than thick applications to prevent wrinkling, bubbling, or incomplete curing that causes peeling within days. Multiple thin coats cure more thoroughly and create stronger, more flexible finishes that move naturally with nails.
- Keep gel polish away from cuticles by maintaining a tiny gap of one millimeter around all edges to prevent lifting when natural nail growth pushes product upward. Use cleanup brush dipped in gel cleanser to perfect edges before curing each layer.
- Cure each layer for the full recommended time even if gel appears hardened earlier because incomplete polymerization weakens adhesion and reduces wear time. Different lamp wattages require adjusted timing, so know your equipment specifications.
- Store gel products away from direct sunlight and heat sources because premature curing in bottles ruins consistency and makes application difficult. Keep bottles tightly closed and shake gently before use to maintain even pigment distribution.
- Practice French tip smile lines on paper or practice wheels before working on clients to develop steady hand control and consistent curves. Use guides or stickers initially, then transition to freehand techniques as confidence builds.
- Clean lamp bulbs monthly with alcohol wipes to maintain proper curing intensity because dust and gel residue reduce UV output and cause incomplete hardening that leads to soft, easily damaged nails.
Common Gel Nail Designer Mistakes and Solutions
| Mistake | Why It Happens | How to Fix |
|---|---|---|
| Thick gel layers causing wrinkling | Applying too much product creates surface that cures before deeper layers, causing texture issues | Apply thin coats and cure between each layer, building coverage gradually |
| Gel polish lifting at cuticles | Product floods cuticle area or inadequate nail preparation leaves oils preventing adhesion | Maintain gap from cuticle, use dehydrator properly, and ensure thorough prep |
| Uneven French tip smile lines | Inconsistent hand pressure or following incorrect nail contours creates asymmetrical appearance | Use guides initially and practice consistent brush angles following natural curve |
| Gel nails peeling within days | Skipping prep steps, contaminated nail surface, or insufficient curing time weakens bond | Follow complete preparation protocol, buff surface, and cure for full recommended time |
| Bubbles in cured gel polish | Shaking bottles vigorously introduces air or applying thick layers traps air during curing | Roll bottles between palms instead of shaking and apply thin even layers |
Understanding why problems occur helps nail designers prevent issues before they happen rather than constantly troubleshooting after application. Professional troubleshooting skills separate experienced nail designers from beginners and build client trust through consistent quality. For more detailed guides on avoiding common mistakes, visit Gel Nails by Lina for expert tutorials.
Trending Nail Designer Variations for 2025
| Style | Description | Best Occasion |
|---|---|---|
| Classic White French Tips | Traditional white tips on nude or pink base with clean smile line | Professional settings, weddings, everyday wear |
| Colored French Tips | Replace white tips with colors like burgundy, navy, or pastels for modern twist | Casual events, seasonal looks, creative workplaces |
| Reverse French Manicure | Color applied at cuticle area instead of tips creates unique inverted look | Fashion events, artistic expressions, special occasions |
| Minimalist Line Art | Single thin lines, dots, or simple geometric shapes on neutral base colors | Professional environments, understated elegance preferences |
| Ombre French Tips | Gradient fade from base color into tip color creates soft blended appearance | Romantic occasions, summer looks, trendy casual wear |
| Square French on Short Nails | Defined square shape with proportional tips works beautifully on shorter nail beds | Practical daily wear, professional settings, active lifestyles |
| Micro French Tips | Ultra-thin white tips just one millimeter wide for subtle sophisticated effect | Corporate environments, subtle enhancement preferences |
Nail designers who stay current with trending styles while mastering classic techniques appeal to broader client bases. The 2025 trend toward classy, simple nail inspiration reflects client desires for versatile designs that transition seamlessly between different life situations. Square nails particularly suit simple designs because the geometric shape provides clean lines that enhance minimalist aesthetics.
Nail Care and Maintenance for Long-Lasting Designs
Proper maintenance extends the life of gel nail designs and protects natural nail health underneath. Apply cuticle oil twice daily around all nail edges to keep skin hydrated and prevent lifting caused by dry, tight cuticles pulling away from polish. Wear protective gloves when cleaning with harsh chemicals or doing dishes because prolonged water exposure softens gel and weakens adhesion over time.
Avoid using nails as tools for opening cans, scratching surfaces, or prying objects because lateral pressure causes gel to crack and separate from nail beds. When gel nails show signs of growth after two to three weeks, schedule fills or removal rather than peeling product off, which damages natural nail layers. Peeling gel polish removes surface cells from nail plates, causing weakness, peeling, and increased vulnerability to breakage.
Maintain nail health between gel applications by giving nails occasional breaks to breathe and recover. Apply strengthening treatments during break periods and keep natural nails moisturized with nourishing oils. Healthy natural nails provide better foundations for future gel applications and reduce risk of infections or fungal issues. Professional nail designers educate clients about home care because proper maintenance reflects positively on their work and builds long-term client relationships.
For comprehensive nail care advice tailored to gel nail enthusiasts, explore resources at Gel Nails by Lina where maintenance meets professional expertise.
How to Remove Gel Nails Safely Without Damage
Safe gel nail removal protects natural nail integrity and prevents damage that takes months to repair. Begin by filing off the shiny top coat layer using a coarse nail file to break the seal and allow acetone to penetrate gel layers more effectively. Soak cotton pads in pure acetone and place one on each nail, then wrap fingertips tightly with aluminum foil squares to hold cotton in place and trap heat.
Allow nails to soak for 10 to 15 minutes before checking if gel has softened adequately. Gently push softened gel off nail surface using wooden cuticle stick or metal pusher, working from cuticle toward free edge. Never force gel removal because scraping or prying damages nail plates and causes painful splitting. If gel resists removal after 15 minutes, rewrap and soak for an additional five minutes rather than forcing product off.
Professional nail designers should educate clients about proper removal or encourage salon visits for safe professional removal services. Improper home removal causes the majority of gel nail damage complaints and creates negative perceptions about gel products when natural nails become weak or damaged from forceful peeling.
Nail Health and Safety for Professional Designers
Maintaining nail health requires understanding proper application techniques and recognizing signs of potential problems before serious damage occurs. Over-filing natural nails to improve gel adhesion thins nail plates dangerously and causes long-term weakness, sensitivity, and painful breaks. Professional nail designers should buff only enough to remove shine without creating heat or thinning nails excessively.
Watch for signs of nail infections including redness, swelling, pain, or discoloration around nail beds because gel products can trap moisture and bacteria if applied over compromised skin. Never apply gel products over infected nails or damaged cuticles, and refer clients to dermatologists when infections appear. Proper sanitization of tools between clients prevents cross-contamination and protects both nail designers and clients from bacterial or fungal transmission.
Educate clients about realistic expectations regarding gel nail wear time, proper removal importance, and home maintenance requirements. Transparent communication about potential risks and proper care builds trust and ensures clients understand their role in maintaining both beautiful nails and long-term nail health.
Frequently Asked Questions About Professional Nail Design
How long do gel nails last when applied by professional nail designers?
Professionally applied gel nails typically last two to three weeks without chipping when proper application and maintenance protocols are followed. Longevity depends on factors including natural nail growth rate, daily activities, and home care consistency. Individuals who use hands heavily for work or frequently expose nails to water may experience shorter wear times. Proper preparation and thin gel layers applied by experienced nail designers significantly improve durability compared to thick applications or skipped prep steps.
How do you remove gel nails safely without damaging natural nails?
Safe gel nail removal requires soaking nails in pure acetone for 10 to 15 minutes after filing off the top coat layer. Wrap acetone-soaked cotton pads around each nail with aluminum foil to accelerate softening. Gently push softened gel off using a wooden stick, never forcing or peeling product. Forcing removal damages nail layers and causes weakness, peeling, and breakage that takes months to recover. Always moisturize thoroughly after acetone exposure to restore hydration.
What is the difference between gel nails and acrylic nails for nail designers?
Gel nails cure under UV or LED light and offer flexible, natural-looking finishes with glossy shine, while acrylic nails harden through chemical reaction when liquid monomer mixes with powder polymer. Gel application produces less odor and typically causes less damage to natural nails when removed properly. Acrylic nails provide stronger reinforcement for extremely weak or damaged nails but require more aggressive removal and filing. Many nail designers prefer gel for natural nail overlays and French designs because of superior shine and easier application.
Why do gel nails peel or lift prematurely after application?
Gel nails peel primarily due to inadequate nail preparation, oil contamination, flooding the cuticle area, or insufficient curing time. Skipping dehydrator application leaves natural oils that prevent proper adhesion. Thick gel layers cure incompletely, creating weak bonds that separate easily. Proper buffing, thorough cleansing, maintaining gaps around cuticles, and complete curing prevent most lifting issues. Environmental factors like excessive hand washing or harsh chemical exposure also contribute to premature lifting.
How can nail designers make gel nails last longer for clients?
Making gel nails last longer requires meticulous preparation including proper buffing, dehydrating, and ensuring nails are completely clean before application. Apply thin gel layers and cure each completely using properly maintained lamps. Cap free edges with every layer including base and top coats to seal polish. Educate clients about avoiding nails as tools, wearing gloves during cleaning, and applying cuticle oil daily. Quality products and proper technique combined with client cooperation produce gel manicures that consistently last three weeks or more
Master Your Nail Designer Skills Today
Becoming a skilled nail designer requires mastering fundamental techniques, understanding product chemistry, and developing artistic vision that creates beautiful, long-lasting results. French tip variations, simple elegant designs, and classic gel applications form the foundation that supports more advanced nail art techniques. Practice proper preparation, perfect thin application layers, and commit to ongoing education about trending styles to build a successful nail design career. Whether creating timeless white French tips on square nails or exploring 2025’s classy minimalist trends, these professional nail designer techniques ensure stunning results that clients love and recommend.