Master the Art of French Gel Nails: A Step-by-Step DIY Manicure Guide for Stunning Results

As a young girl, I remember sneaking glances at my mother’s perfectly manicured nails. The soft pink tips and the glossy finish made her hands look elegant and poised. I became so obsessed that it turned into my little dream to someday flaunt my own set of stunning nails. However, my first experience at a nail salon was anything but perfect. The technician cut my cuticles too short, and I left with a couple of painful nicks.

I promised myself I’d never go back to that salon. Instead, I turned to DIY, bringing a passion for creating my perfect nails at home. Today, I want to share my journey and how I mastered French gel nails so you can enjoy the same stunning results right in the comfort of your home.
Table of Contents
Understanding French Gel Nails
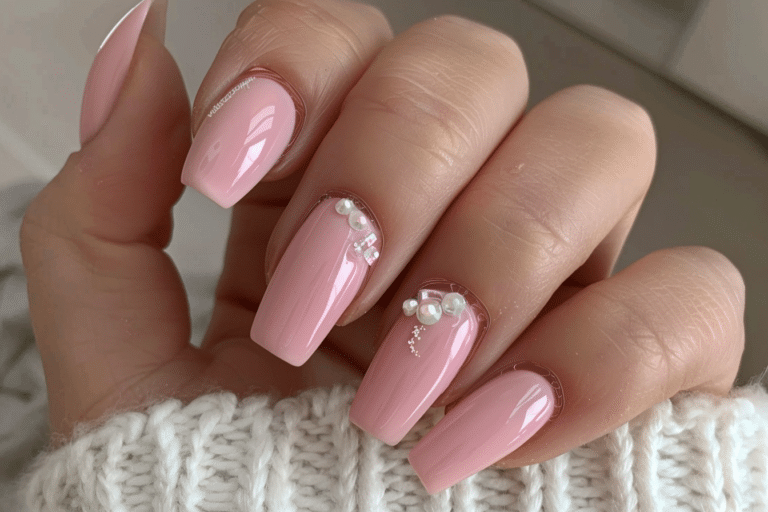
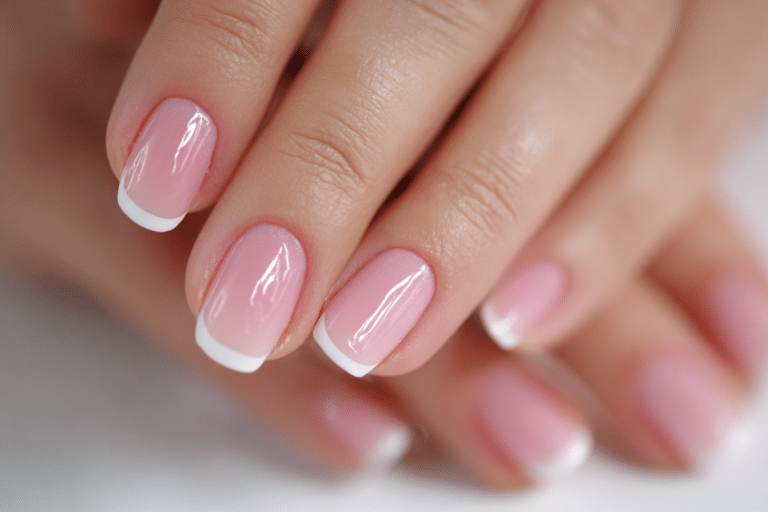
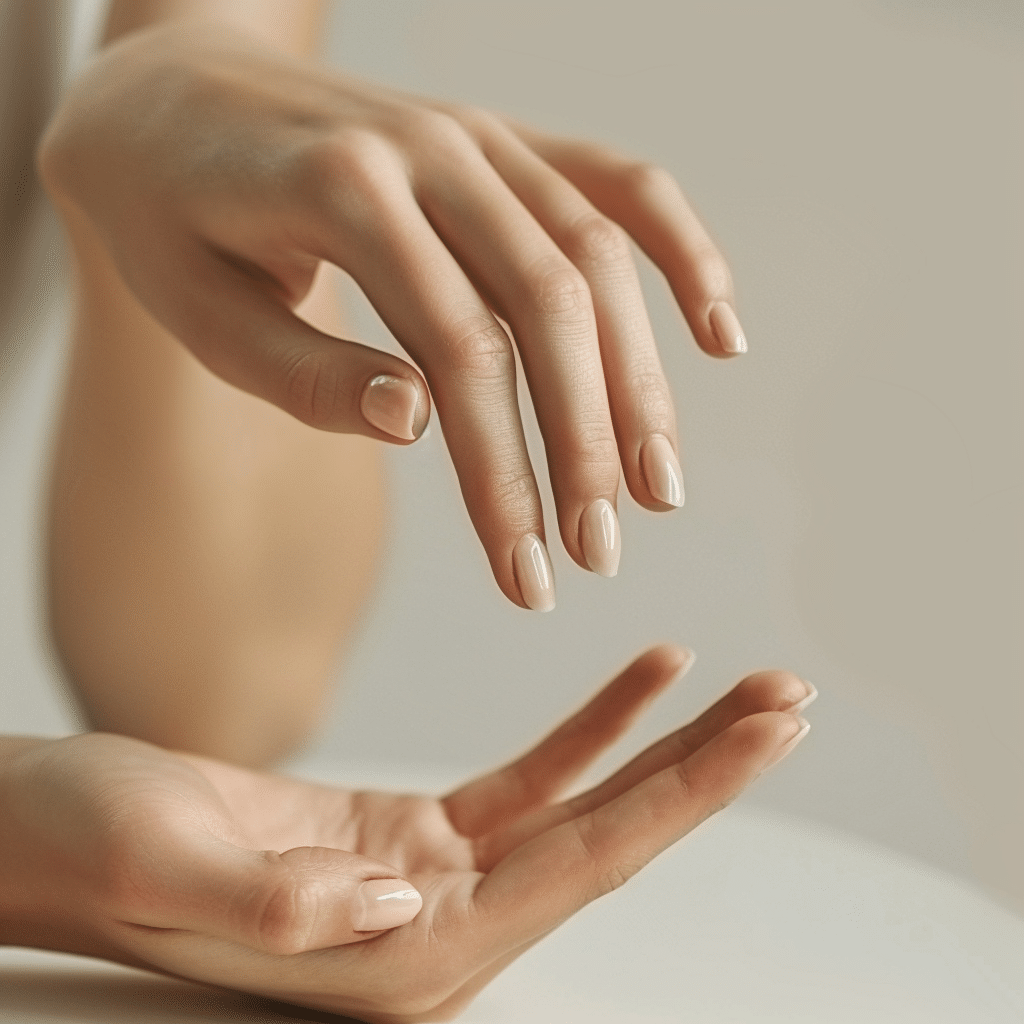
French gel nails are a timeless classic that exude sophistication and charm. This manicure style typically features a soft pink base with white tips. The beauty of French gel nails lies in their versatility; they suit various occasions, whether it’s casual outings or formal events. Plus, learning to do them at home saves both time and money!
Tools & Products Needed
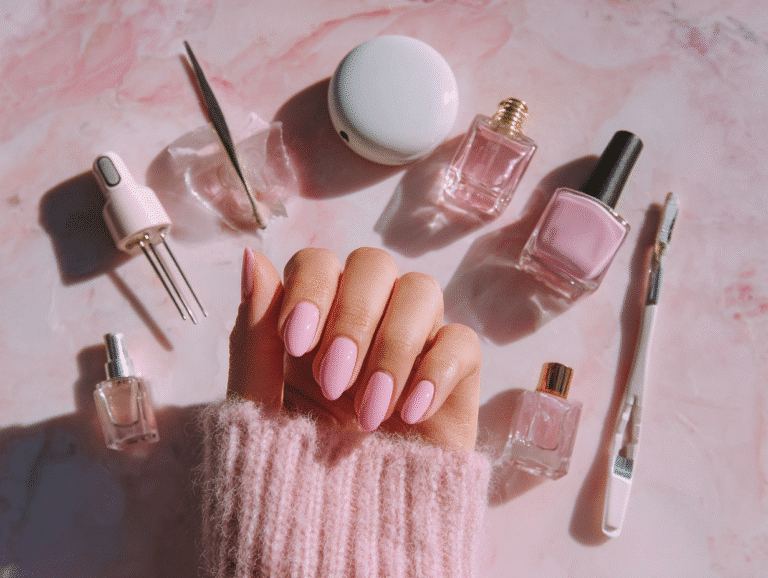
Before we dive in, let’s gather the essential tools and products required for achieving a flawless French gel manicure:
- LED or UV lamp
- Gel base coat
- Gel nail polish (soft pink and white)
- Gel top coat
- Nail file and buffer
- Cuticle pusher
- Lint-free wipes
- Isopropyl alcohol
- Nail cleanser
- Gel brush (optional)
Step-by-Step Guide to DIY French Gel Nails
Let’s get started. Follow these steps carefully for stunning results:
- Prepare Your Nails: Start with clean, dry nails. Remove any old polish, and file your nails into your desired shape. It’s best to use a gentle buffer to smooth the surface.
- Push Back Your Cuticles: Using a cuticle pusher, gently push back the cuticles to create a clean canvas for your gel polish.
- Apply Base Coat: Apply a thin layer of gel base coat to each nail. Be sure to seal the tips! Cure under the LED or UV lamp according to the manufacturer’s instructions.
- Apply Pink Base Color: Apply one coat of soft pink gel polish. Cure under the lamp. If you desire an opaque finish, apply a second coat and cure again.
- Create the White Tips: For the classic French look, use a fine nail brush to apply the white gel polish to the tips. This step requires a steady hand, so take your time! Cure once completed.
- Add Top Coat: Apply a layer of gel top coat over your nails to add shine and protect your design. Cure again.
- Cleanse: After curing, use a lint-free wipe and isopropyl alcohol to remove the tacky layer from your nails. And voila, admire your beautiful French gel nails!
Common Mistakes to Avoid
While creating French gel nails at home can be a rewarding experience, there are several pitfalls beginner DIYers often encounter. Here are some common mistakes to avoid:
- Skipping nail preparation: Neglecting to clean and prep your nails can lead to poor adhesion.
- Over-curing: Always follow the recommended curing times for your products. Over-curing can cause brittleness.
- Applying thick layers: Thin layers cure better and provide a smoother finish.
Pro Tips for Perfecting Your French Gel Nails
Here are some insider tips to achieve enviable French gel nails:
- Practice good lighting: Ensure your workspace is well-lit to help with precision.
- Take breaks between steps: If you feel rushed, take a break to regain your focus.
- Use scotch tape: For beginners, applying scotch tape to mark the tips can help create great lines.
Frequently Asked Questions
1. How long will my French gel nails last?
When applied correctly, French gel nails can last anywhere from two to four weeks without chipping.
2. Can I use regular nail polish instead of gel?
While you can use regular nail polish, gel provides a more durable finish and requires curing under a lamp.
3. How do I remove gel nails?
Soak a cotton ball with acetone, press it onto the gel nail, and wrap it in foil for about 10 minutes. Gently scrape off the gel once softened.
4. Are French gel nails suitable for short nails?
Absolutely! French gel nails can be adapted to short nails for a chic and understated look.
5. Can I do a French manicure on my toes?
Yes! French gel techniques can also be applied to toe nails, offering a polished look for your feet.
Conclusion
Now that you’re armed with the knowledge and tools to master your own French gel nails at home, there’s nothing stopping you from embracing this elegant style! Remember, practice makes perfect. Don’t be discouraged if your first attempt doesn’t turn out as planned—keep refining your skills, and soon your nails will be the talk of the town. For more tips and tutorials, [read my full builder gel guide here].
To stay updated with the latest tips and tricks, be sure to join our email list for exclusive content. Happy polishing!
`
Browse my curated collection on Pinterest