Girly Acrylic Nails: Designs, Tips & Complete Care Guide

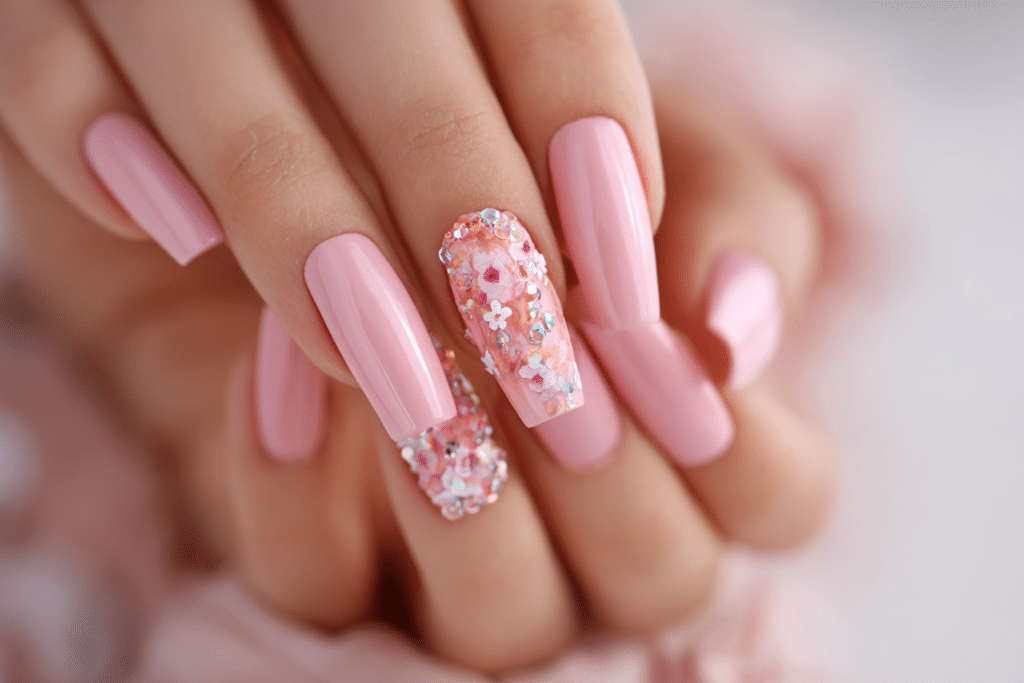
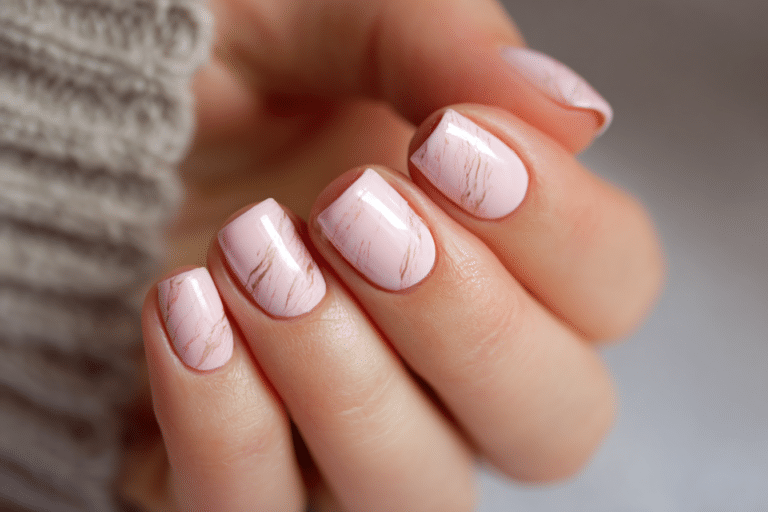
Girly acrylic nails represent the perfect fusion of feminine aesthetics and durable nail enhancement technology.
These artificial nail extensions offer endless possibilities for soft colors, delicate designs, and charming embellishments that celebrate femininity. Acrylic nails provide a strong foundation for intricate nail art while maintaining that distinctly sweet and elegant appearance many nail enthusiasts desire.
| Topic | Details |
|---|---|
| Category | Nail Art / Acrylic Nails |
| Skill Level | Intermediate to Advanced |
| Time Needed | 90-120 minutes for full set |
| Tools Needed | Acrylic powder, liquid monomer, nail files, brushes, nail tips |
| Best For | Anyone seeking durable, customizable feminine nail designs |
Table of Contents
Why This Nail Technique Works
Acrylic nails have remained a staple in the beauty industry for decades because they offer unmatched durability and versatility for creative expression. The chemical bond formed when acrylic powder combines with liquid monomer creates a hard protective layer that resists chipping and breaking far better than natural nails. This strength allows for extended length and elaborate designs that would be impossible to achieve with natural nails alone.
The girly aesthetic works particularly well with acrylic nails because the smooth, even surface provides the perfect canvas for pastel colors, glitter accents, floral designs, and dimensional embellishments. Unlike gel polish which requires UV curing, acrylic self-cures through a chemical reaction, allowing nail technicians to work methodically on intricate designs without time pressure. The opacity of acrylic also effectively covers nail imperfections, creating a flawless base for delicate feminine nail art.
From a practical standpoint, acrylic nails can last three to four weeks with proper care, making them an excellent investment for special occasions or everyday wear. The material can be filed into various shapes including almond, stiletto, coffin, and square styles that complement different hand shapes and personal preferences. This adaptability makes acrylics ideal for achieving that perfect girly look tailored to individual style preferences.
Tools and Products Needed
| Product | Purpose | Alternatives |
|---|---|---|
| Acrylic Powder (pink, white, clear) | Main building material for nail extensions | Dip powder system, hard gel |
| Liquid Monomer | Activates acrylic powder to form moldable bead | Odorless monomer alternative |
| Acrylic Brush | Applies and shapes acrylic beads | Kolinsky brushes in various sizes |
| Nail Tips | Provides length foundation | Nail forms for sculpting |
| Nail File (100/180 grit) | Shapes and refines acrylic | Electric nail drill |
| Buffer Block | Smooths surface before polish | Fine grit file |
| Cuticle Pusher | Prepares nail bed | Orange wood stick |
| Nail Dehydrator | Removes oils for better adhesion | Rubbing alcohol |
| Primer | Bonds acrylic to natural nail | Acid-free primer |
| Top Coat | Seals and protects design | Gel top coat |
| Cuticle Oil | Maintains nail health | Vitamin E oil, jojoba oil |
For additional nail care products and professional supplies, visit Gel Nails by Lina for expert recommendations and tutorials.
Step-by-Step Application Guide
Nail Preparation
- Wash hands thoroughly with antibacterial soap and dry completely to remove any oils or debris from the nail surface.
- Push back cuticles gently using a cuticle pusher, being careful not to damage the delicate skin surrounding the nail bed.
- Buff the natural nail surface lightly with a 180-grit file to remove shine and create texture for better acrylic adhesion.
- Remove all dust using a clean brush or lint-free wipe to ensure a pristine working surface.
- Apply nail dehydrator to each nail and allow it to air dry for thirty seconds before proceeding.
- Apply a thin layer of primer to the natural nail, avoiding skin contact and allowing it to dry completely.
Nail Tip Application
- Select the appropriate tip size for each nail, ensuring it covers the nail plate from sidewall to sidewall without gaps.
- Apply a small amount of nail glue to the tip well and press firmly onto the natural nail at a forty-five-degree angle.
- Hold pressure for ten to fifteen seconds to ensure complete adhesion and prevent air bubbles from forming.
- Clip the tip to desired length using nail clippers, leaving room for filing and shaping later in the process.
- File the tip to blend the seam where it meets the natural nail, creating a smooth transition surface.
- Shape the free edge into your preferred style, whether almond, square, coffin, or stiletto for that perfect girly aesthetic.
Acrylic Application
- Pour liquid monomer into a dappen dish and prepare your chosen acrylic powder color for the girly design.
- Dip your acrylic brush into the monomer and wipe one side on the dish rim to remove excess liquid.
- Touch the brush tip to the powder to pick up a small bead of acrylic with medium consistency.
- Place the bead near the cuticle area and gently press down, then pull the acrylic toward the free edge.
- Work quickly but carefully to shape the acrylic before it begins to harden, maintaining even thickness throughout.
- Apply a second bead to the middle section of the nail, blending seamlessly with the first application.
- Add a third bead to the tip area, ensuring the apex of the nail has proper structure and strength.
- Repeat the process on all ten nails, maintaining consistent thickness and shape for a professional finish.
Shaping and Refining
- Allow the acrylic to cure completely for at least two minutes before beginning the filing process.
- Use a 100-grit file to shape the free edge and sidewalls, creating your desired nail shape precisely.
- File the surface to smooth any bumps or uneven areas, focusing on creating a natural-looking apex.
- Switch to a 180-grit file for finer refinement, reducing visible file marks and preparing for buffing.
- Buff the entire nail surface with a buffer block until smooth and ready for girly nail art application.
- Remove all dust thoroughly with a clean brush and wipe nails with a lint-free pad dampened with rubbing alcohol.
Girly Design Application
- Apply a base coat of pastel pink, lavender, baby blue, or another soft feminine color as your foundation.
- Allow the base color to dry completely before adding any additional design elements or embellishments.
- Add girly details such as tiny hearts, flowers, butterflies, bows, or delicate glitter accents using fine nail art brushes.
- Apply rhinestones, pearls, or small charms using nail glue for dimensional girly acrylic nails that truly stand out.
- Create French tips with pink or white for a classic feminine look that works for any occasion.
- Seal your design with a high-quality top coat, ensuring all edges and embellishments are fully covered.
- Apply cuticle oil around each nail to hydrate the surrounding skin and complete your girly manicure professionally.
Pro Nail Technician Tips
- Maintain proper liquid-to-powder ratio for acrylic beads that are neither too wet nor too dry, ensuring optimal working time and strength. The perfect bead should hold its shape without running but still be spreadable for smooth application.
- Work in a well-ventilated area when applying acrylic nails to minimize exposure to monomer fumes and maintain comfort during the application process. Consider using a small fan or keeping windows open for better air circulation.
- Apply acrylic in thin layers rather than one thick application to prevent heat spikes, cracking, and lifting problems. Multiple thin layers create stronger, more natural-looking nails that last longer without maintenance issues.
- Keep your acrylic brush clean by wiping it frequently on a lint-free towel and storing it properly after use. A clean brush creates smoother applications and prevents contamination of your monomer and powder products.
- Cap the free edge with your top coat to seal the tip completely and prevent chipping or peeling. This professional finishing technique significantly extends the life of your girly acrylic nails between fills.
- Schedule fill appointments every two to three weeks to maintain the appearance and structural integrity of acrylic nails. Regular maintenance prevents lifting, cracking, and potential damage to the natural nail underneath.
Common Acrylic Nail Mistakes
| Mistake | Why It Happens | How to Fix |
|---|---|---|
| Lifting at Cuticle Area | Inadequate nail preparation or moisture contamination during application process | Ensure proper dehydration, avoid touching prepared nails, apply primer correctly, and keep acrylic away from skin |
| Air Bubbles in Acrylic | Tapping brush into powder, using contaminated monomer, or improper bead consistency | Press brush into powder smoothly, change monomer regularly, and maintain proper liquid-to-powder ratio |
| Uneven Thickness | Rushing application or using inconsistent acrylic bead sizes throughout the nail | Practice consistent bead sizing, work methodically, and file thoroughly to create proper nail architecture |
| Yellowing or Discoloration | UV exposure, low-quality products, or smoking near freshly applied acrylic nails | Use quality products, apply UV-protective top coat, and avoid smoke exposure during curing process |
| Cracking or Breaking | Acrylic applied too thickly or too thin, or improper nail apex placement | Apply medium layers with proper apex at stress point, and avoid using nails as tools |
Girly Acrylic Nail Design Variations
| Style | Description | Best Occasion |
|---|---|---|
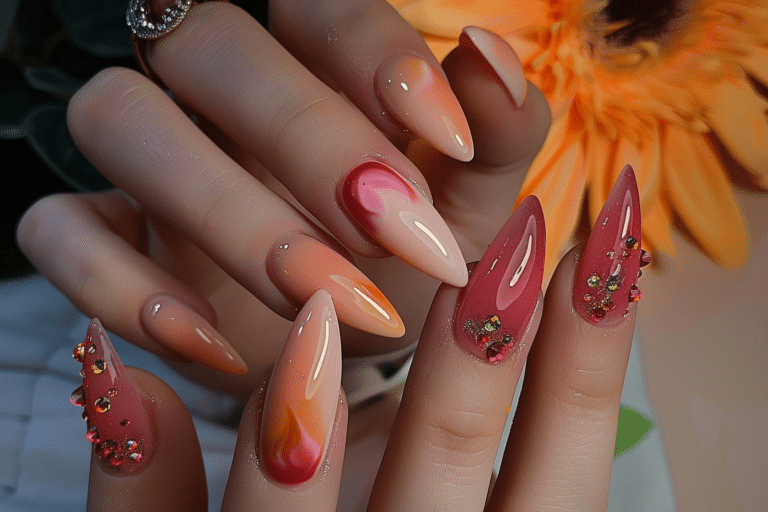
| Pastel Ombre | Soft gradient blending from one pastel shade to another creating dreamy feminine effect | Spring weddings, baby showers, everyday wear |
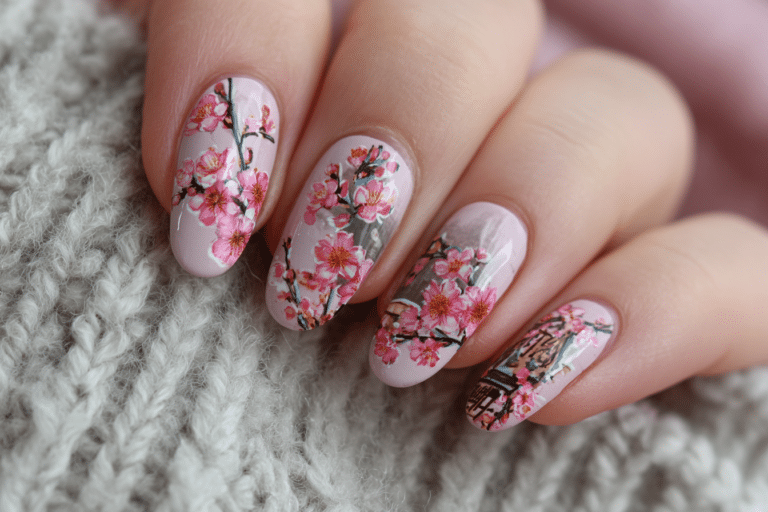
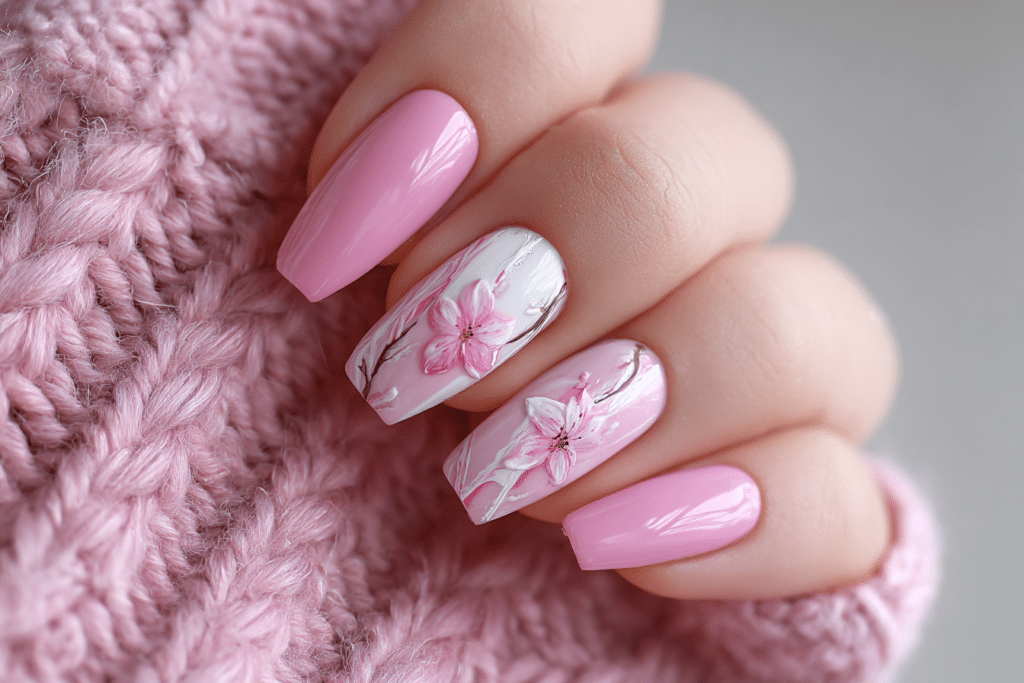
| Floral Accent Nails | Delicate hand-painted flowers on nude or pink base with rhinestone centers | Garden parties, dates, feminine events |
| Pink Chrome | Metallic rose gold or pink chrome powder over pale pink base for modern girly look | Special occasions, nights out, fashion events |
| French with Bows | Classic French manicure enhanced with tiny 3D bow details on accent nails | Professional settings, formal events, bridal |
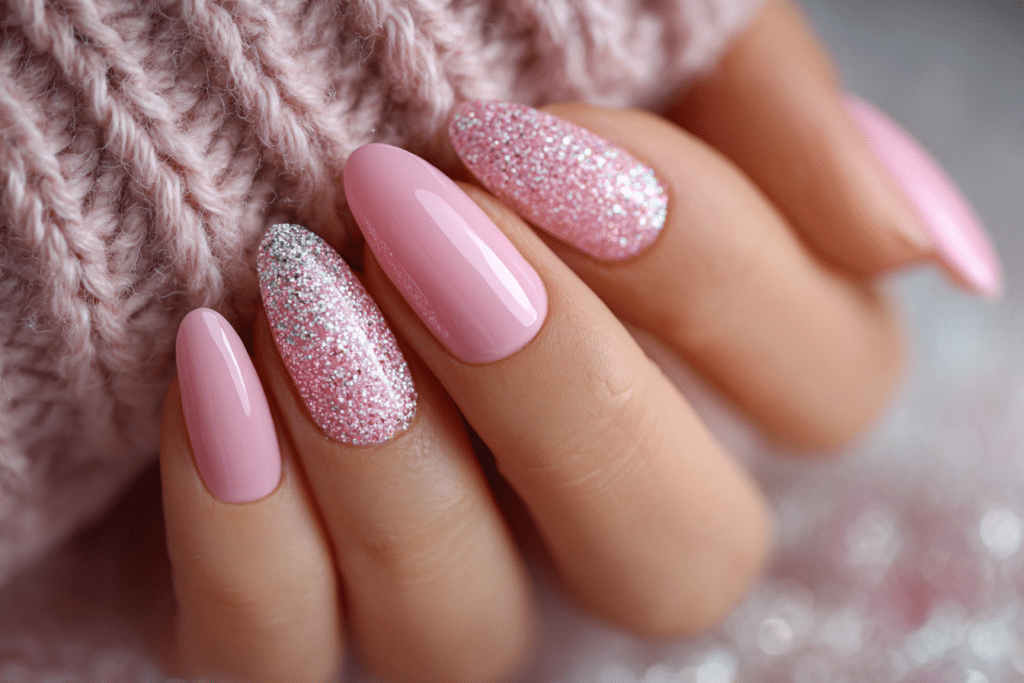
| Glitter Gradient | Fine iridescent glitter fading from cuticle to tip over soft pink or lavender | Parties, celebrations, festive occasions |
| Pearl Embellishments | Tiny pearl accents arranged in delicate patterns on solid pastel colors | Weddings, romantic dinners, elegant gatherings |
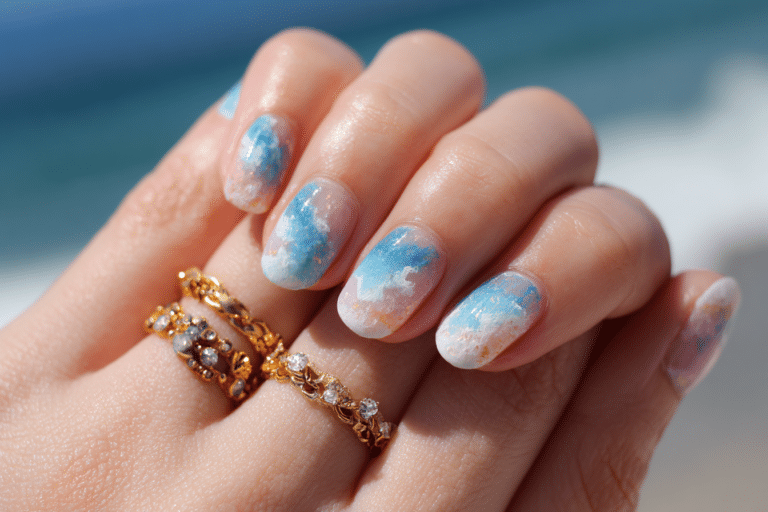
| Butterfly Art | Small hand-painted or sticker butterflies with watercolor-effect backgrounds | Summer events, festivals, casual outings |
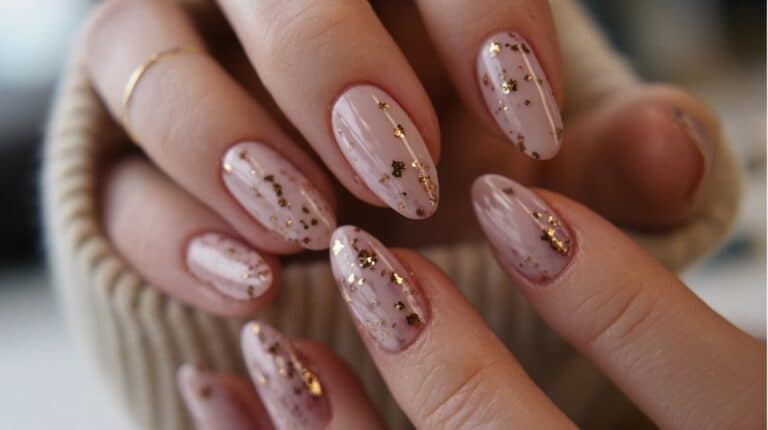
| Baby Pink with Gold | Soft pink base with delicate gold foil or striping tape accents | Professional environments, versatile everyday wear |
Explore more girly nail design inspiration and tutorials at Gel Nails by Lina for seasonal trends and technique guides.
Nail Care and Maintenance
Maintaining girly acrylic nails requires consistent care to preserve both the aesthetic appeal and the health of your natural nails underneath. Apply cuticle oil daily, preferably twice per day, to keep the nail bed hydrated and prevent the acrylic from becoming brittle. Massage the oil into the cuticle area and underneath the free edge to promote circulation and maintain flexibility in the enhancement.
Wear gloves when performing household chores, especially those involving water, cleaning chemicals, or gardening activities that could damage your nails. Prolonged water exposure can cause lifting, while harsh chemicals may dull the shine or damage delicate girly designs. Protect your investment by taking these simple precautions during daily activities.
Avoid using your acrylic nails as tools to open cans, scratch surfaces, or peel labels, as this places excessive stress on the enhancement and can cause cracking or breaking. When typing or performing detailed work, use the pads of your fingers rather than the tips of your nails to reduce pressure and prevent damage.
Schedule regular fill appointments every two to three weeks to address growth and maintain the structural integrity of your girly acrylic nails. During fills, a technician will file down lifted areas, fill in the growth gap near the cuticle, and refresh any worn designs to keep your manicure looking fresh and professional.
How to Remove Acrylic Nails Safely
Safe removal of acrylic nails is crucial for maintaining the health and integrity of your natural nails underneath. Never peel or pull off acrylic nails, as this removes layers of your natural nail plate and causes significant damage that takes months to repair.
Begin the removal process by filing down the top layer of acrylic to break the seal of any top coat and reduce the thickness. This allows the acetone to penetrate more effectively and speeds up the soaking process significantly. Use a coarse file and work carefully to avoid filing into your natural nail.
Soak cotton balls in pure acetone and place one on each nail, ensuring full coverage of the acrylic surface. Wrap each finger tightly with aluminum foil to hold the cotton in place and create a seal that prevents acetone evaporation. Allow the nails to soak for twenty to thirty minutes without disturbing the wraps.
After soaking, gently push off the softened acrylic using an orange wood stick or cuticle pusher, working from the cuticle toward the free edge. If the acrylic does not slide off easily, rewrap and soak for an additional ten minutes rather than forcing removal. Remove residue carefully and file any remaining product gently until the natural nail is smooth.
Nail Health and Safety
Maintaining nail health while wearing girly acrylic nails requires attention to proper application techniques and hygiene practices throughout the enhancement process. Over-filing the natural nail during preparation is one of the most common causes of damage, weakening the nail plate and increasing sensitivity. Your nail technician should only lightly buff the surface to remove shine without creating heat or thinness.
Watch for signs of infection such as redness, swelling, pain, or discharge around the nail bed, which may indicate bacterial or fungal contamination. If you notice moisture trapped under the acrylic or a green discoloration, remove the enhancement immediately and consult a healthcare professional. Infections can develop when bacteria become trapped between the natural nail and the acrylic due to lifting or improper application.
Frequently Asked Questions
How long do acrylic nails last?
How do I make my girly acrylic nails last longer?
Making girly acrylic nails last longer starts with proper application by an experienced technician and thorough nail preparation. Apply cuticle oil twice daily to maintain flexibility and prevent brittleness that leads to cracking. Wear gloves during household chores, avoid using nails as tools, and keep hands moisturized to prevent the acrylic from drying out. Schedule regular fills before significant lifting occurs to maintain the seal between the enhancement and your natural nail.
Why do my acrylic nails keep lifting?
Are acrylic nails better than gel nails for girly designs?
Can I apply girly acrylic nails at home?
Conclusion
Girly acrylic nails offer endless possibilities for expressing feminine style through durable, customizable nail enhancements that withstand daily wear. From delicate pastel ombre to elaborate floral designs with pearl embellishments, acrylic nails provide the perfect canvas for creating the soft, romantic aesthetic many nail enthusiasts desire. By following proper application techniques, maintaining consistent care routines, and scheduling regular fills, you can enjoy beautiful girly acrylic nails that remain stunning for weeks. Whether you prefer professional salon services or adventurous DIY application, these techniques and tips will help you achieve and maintain the gorgeous feminine nails you envision.