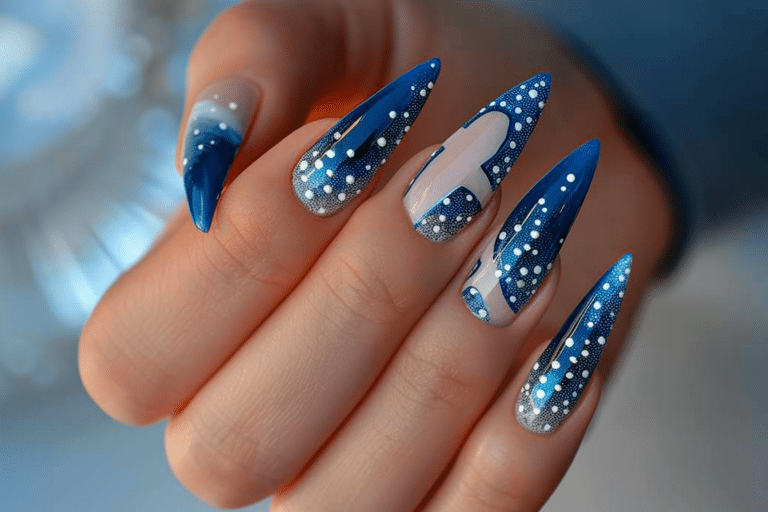
Must-Have Nail Gel Polish & Accessories for Salon-Perfect Nails – Shop Now

Must-have nail gel polish and accessories for salon-perfect nails transform your at-home manicure experience into a professional-grade service.
Quality gel polish systems paired with essential tools deliver durable, glossy finishes that last up to three weeks without chipping. Investing in the right products ensures consistent results and maintains nail health throughout your beauty routine.
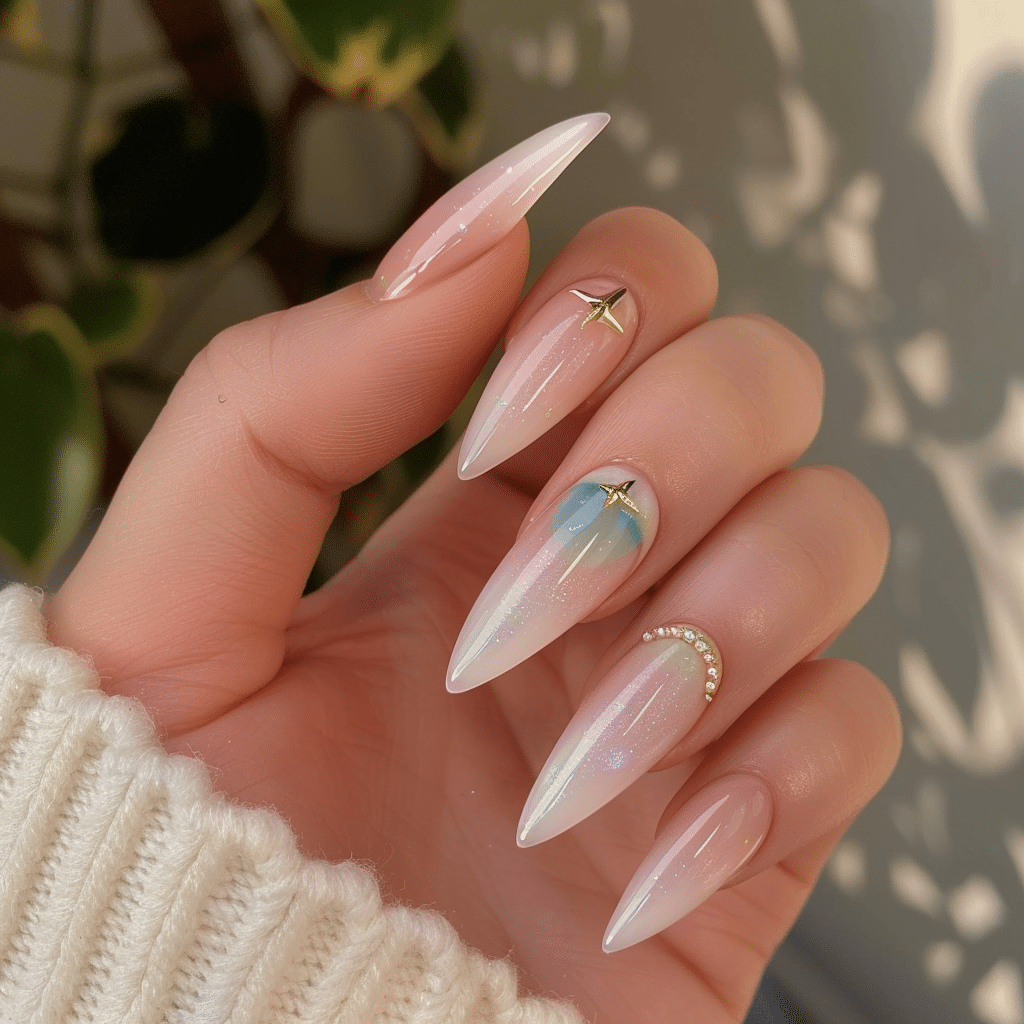
| Topic | Details |
| Category | Gel Nails / Nail Care / Professional Tools |
| Skill Level | Beginner to Advanced |
| Time Needed | 45-60 minutes per application |
| Tools Needed | UV/LED lamp, gel polish system, nail files, buffers, cuticle tools |
| Best For | Anyone seeking long-lasting, chip-resistant manicures at home or in salon |
Table of Contents
Why This Nail Technique Works
Gel polish technology revolutionizes nail care through its unique photopolymerization process that hardens under UV or LED light. Unlike traditional lacquer that air-dries through evaporation, gel formulas contain oligomers and monomers that cross-link when exposed to specific light wavelengths. This chemical reaction creates a durable polymer network that bonds directly to the nail plate, resulting in superior adhesion and longevity.
The layered system of base coat, color, and top coat provides multiple benefits beyond simple aesthetics. Base coats contain specialized resins that grip the nail surface while preventing staining from pigmented polishes. Color coats deliver rich, opaque coverage with highly concentrated pigments suspended in flexible resins. Top coats seal everything with a hard, scratch-resistant layer that maintains shine for weeks. This multi-layer approach protects natural nails from environmental damage while allowing them to flex naturally without cracking the polish.
Professional-quality gel systems maintain their integrity because they resist water penetration and chemical exposure better than conventional polish. The cured gel creates a non-porous barrier that protects nails from daily wear including dishwashing, typing, and other activities that typically cause chipping. This explains why salon manicures using quality gel products consistently outlast home applications with standard nail lacquer.
Tools and Products Needed for Gel Nails
| Product | Purpose | Alternatives |
| UV/LED Lamp | Cures gel polish through light activation | LED-only lamp (faster cure), UV-only lamp (traditional) |
| Base Coat | Provides adhesion and prevents staining | Peel-off base for easy removal, ridge-filling base |
| Gel Polish Color | Delivers pigmented color layers | Sheer gel tints, gel nail art paints |
| Top Coat | Seals polish with protective shine layer | Matte top coat, no-wipe top coat |
| Nail File (180 grit) | Shapes natural nails and smooths edges | Glass file, electric file for professionals |
| Nail Buffer | Creates smooth nail surface for adhesion | Buffing block, 240-grit file |
| Cuticle Pusher | Removes excess cuticle from nail plate | Wooden orange stick, metal cuticle pusher |
| Cuticle Oil | Hydrates nail beds and surrounding skin | Vitamin E oil, jojoba oil, commercial blends |
| Nail Cleanser | Removes oils and debris before application | Isopropyl alcohol (70%+), acetone-free prep solution |
| Lint-Free Wipes | Cleans tacky layer without leaving residue | Cotton pads (less ideal), microfiber cloths |
For premium gel polish and professional accessories, explore the curated selection at Gel Nails by Lina where quality meets affordability for both beginners and experienced nail technicians.
Step-by-Step Application Guide for Gel Nails
Nail Preparation
- Remove any existing polish using acetone-soaked cotton pads or professional gel remover wraps.
- Wash hands thoroughly with soap and warm water to eliminate surface oils and debris.
- Push back cuticles gently using a cuticle pusher at a 45-degree angle to expose the entire nail plate.
- Trim any excess cuticle skin carefully with professional cuticle nippers to prevent lifting.
- File nails into your desired shape using smooth, one-directional strokes with a 180-grit file.
- Buff the nail surface lightly with a buffer block to remove shine and create adhesion texture.
- Dust away filing debris using a clean brush or lint-free wipe.
- Apply nail cleanser or alcohol prep solution to remove all oils and moisture from the nail plate.
Base Coat Application
- Apply a thin layer of base coat starting from the cuticle line and extending to the free edge.
- Cap the free edge by carefully brushing polish across the nail tip for added protection.
- Avoid flooding the cuticle area by maintaining a hairline gap between polish and skin.
- Cure the base coat under UV lamp for 60 seconds or LED lamp for 30 seconds as directed.
- Check for complete curing by ensuring the base coat feels dry and non-tacky before proceeding.
Gel Polish Layers
- Apply the first thin coat of gel color polish using the same technique as base coat.
- Cure the first color layer for the manufacturer-recommended time, typically 30-60 seconds.
- Apply a second thin color coat to achieve full opacity and even pigmentation.
- Cure the second color layer completely before adding any additional decorative elements.
- Add optional third coat only if needed for very sheer or glitter formulas.
Curing Process
- Position your hand fully inside the lamp with nails centered under the light bulbs.
- Keep fingers spread slightly apart to ensure all nails receive adequate light exposure.
- Set timer according to your specific lamp wattage and gel brand recommendations.
- Avoid moving hands during curing to prevent smudging or incomplete polymerization.
- Allow nails to cool for 10-15 seconds after removal from lamp before touching any surfaces.
Finishing and Top Coat
- Apply a thin layer of top coat over the entire nail, sealing the color completely.
- Cap the free edge again with top coat to prevent peeling and extend wear time.
- Cure the top coat for the full recommended time, usually 60 seconds or longer.
- Wipe away the tacky inhibition layer using cleanser and lint-free wipe if using traditional top coat.
- Apply cuticle oil around nail beds and massage gently to restore moisture balance.
- Wash hands with mild soap to remove any residue before admiring your salon-perfect manicure.
Find comprehensive starter kits with all essential accessories at Gel Nails by Lina to simplify your gel manicure journey.
Pro Nail Technician Tips
- Apply gel polish in thin layers rather than thick coats to ensure complete curing and prevent wrinkling or peeling during wear.
- Maintain proper lamp maintenance by replacing bulbs every 6-12 months to guarantee adequate UV/LED output for thorough polymerization.
- Avoid applying polish on skin or cuticles as this causes immediate lifting and reduces manicure longevity significantly.
- Dehydrate nails properly before base coat application using pH-balancing prep solutions or alcohol to maximize adhesion strength.
- Rotate hand positions if using a smaller lamp to cure thumbs separately for even light exposure on all fingers.
- Store gel polish bottles upside down between uses to keep pigments mixed evenly and prevent separation or thickness changes.
Common Gel Nail Mistakes
| Mistake | Why it Happens | How to Fix |
| Thick gel layers | Rushing application by using heavy coats instead of building thin layers | Apply 2-3 thin coats rather than one thick coat; cure each layer completely |
| Improper curing | Weak lamp bulbs, insufficient cure time, or incorrect lamp positioning | Replace bulbs regularly, follow brand cure times, ensure full hand placement in lamp |
| Skipping nail prep | Rushing process or not understanding importance of dehydration and buffing | Always cleanse, buff lightly, and remove all oils before base coat application |
| Flooding the cuticle | Overloading brush or starting polish too close to cuticle line | Leave hairline gap at cuticle; use cleanup brush with acetone for mistakes |
| Not capping free edge | Forgetting to seal nail tips with each coat layer | Brush polish across free edge with each coat including base and top coat |
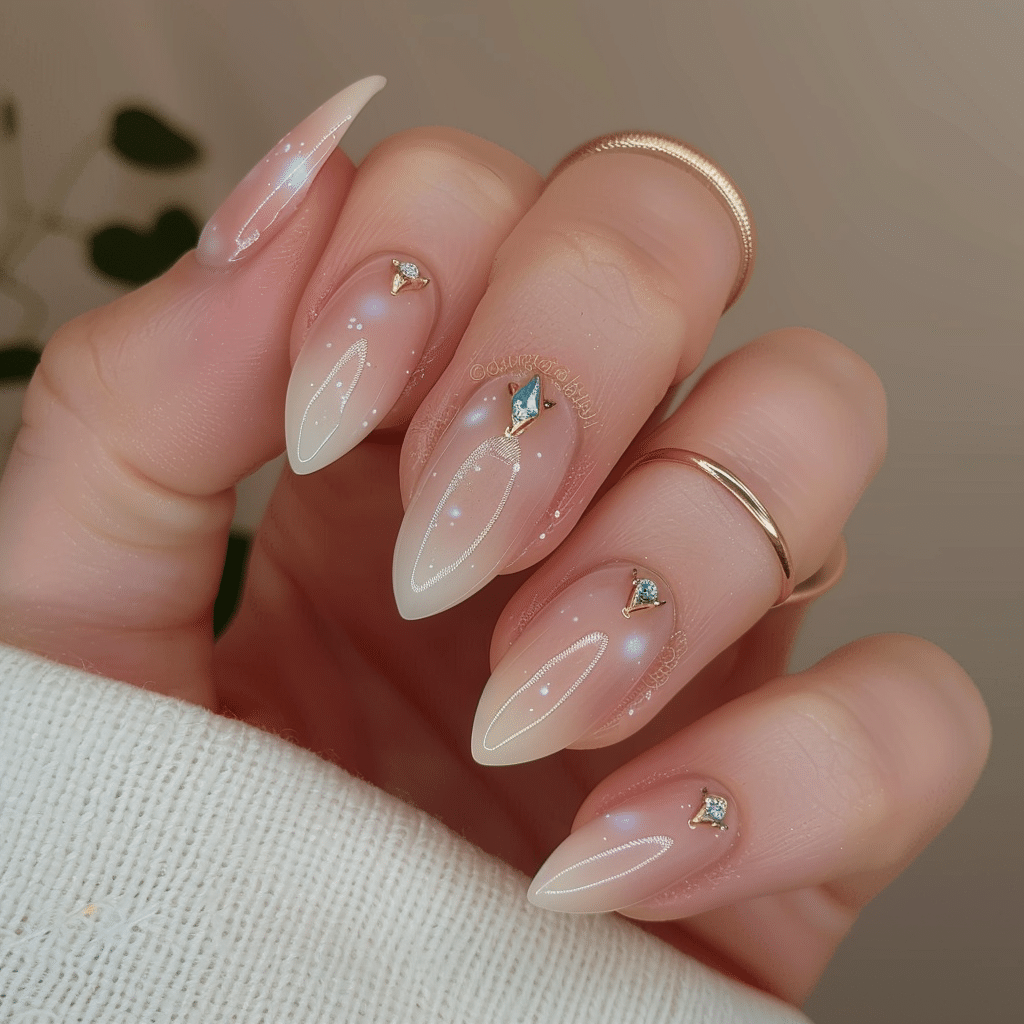
Nail Design Variations with Gel Polish
| Style | Description | Best Occasion |
| French Gel Nails | Classic white tips with nude or pink base for timeless elegance | Weddings, professional settings, formal events |
| Chrome Nails | Mirror-finish metallic powder applied over gel base for futuristic shine | Evening events, fashion-forward occasions, parties |
| Ombre Nails | Gradient color transition from light to dark using sponge blending technique | Summer vacations, casual outings, trendy everyday wear |
| Minimalist Nail Art | Simple geometric lines, dots, or negative space designs in neutral tones | Office wear, sophisticated looks, modern aesthetics |
| Seasonal Designs | Holiday-themed colors and decorative elements matching current season | Festive celebrations, seasonal parties, themed gatherings |
| Glitter Accent Nails | Solid colors with one or two nails featuring glitter gel overlay | Date nights, celebrations, adding sparkle to everyday looks |
Nail Care and Maintenance Between Applications
Maintaining healthy nails between gel manicures requires consistent hydration and protective habits. Apply cuticle oil at least twice daily, especially before bedtime, to prevent dryness that leads to lifting and peeling around edges. Quality cuticle oils containing vitamin E, jojoba, or sweet almond oil penetrate the nail matrix and surrounding skin to maintain flexibility. Massage oil into cuticles and nail beds using circular motions to stimulate blood circulation and promote healthy growth.
Protect your gel manicure from unnecessary stress by wearing gloves during household cleaning and avoiding using nails as tools. Chemical cleaners and prolonged water exposure can weaken the bond between gel layers and natural nails. When gel polish begins showing wear at the tips after two weeks, resist the urge to pick or peel, as this removes layers of the natural nail plate. Instead, schedule proper removal or apply additional top coat to extend wear time safely.
Monitor nail health between services by checking for signs of damage, discoloration, or fungal growth. Healthy nails should appear pink with smooth surfaces and no unusual ridges or soft spots. If you notice persistent problems, give nails a break from gel applications for several weeks while using strengthening treatments. Regular maintenance at Gel Nails by Lina includes professional assessment of nail health alongside beautiful color applications.
How to Remove Gel Nails Safely
- File the shiny top coat layer gently using a coarse file to break the seal and allow acetone penetration.
- Soak cotton pads in pure acetone and place one pad on each nail covering the entire polish surface.
- Wrap each fingertip securely with aluminum foil to trap heat and prevent acetone evaporation.
- Wait 10-15 minutes for acetone to dissolve the gel polymer bonds without forcing or scraping.
- Remove foil wraps and gently push softened gel off using a wooden orange stick or cuticle pusher.
- Re-soak any remaining gel for an additional 5 minutes rather than scraping aggressively.
- Buff nails lightly after removal to smooth any residual texture or rough spots.
- Wash hands thoroughly and apply cuticle oil generously to rehydrate nails after acetone exposure.
- Wait at least 24 hours before applying a new gel manicure to allow nails to recover moisture balance.
Nail Health and Safety Considerations
Maintaining nail health during regular gel manicure routines requires understanding potential risks and prevention strategies. Over-filing the nail plate to improve adhesion actually thins nails and increases breakage susceptibility. Light buffing to remove shine proves sufficient for proper base coat bonding without compromising nail strength. Excessive filing also exposes deeper nail layers to potential bacterial or fungal infections, particularly when tools lack proper sanitization.
UV exposure from nail lamps raises concerns about skin damage and premature aging on hands. While UV nail lamps emit significantly less radiation than tanning beds, dermatologists recommend applying broad-spectrum sunscreen to hands 20 minutes before gel appointments. Fingerless gloves with UV protection offer additional defense during curing processes. LED lamps provide safer alternatives with shorter cure times and minimal UV output while achieving identical gel hardening results.
Frequently Asked Questions
How long do gel nails last with proper application?
How can I remove gel nails safely at home without damage?
What are the main differences between gel nails and acrylic nails?
Why do my gel nails peel or lift after just a few days?
How can I make my gel nails last longer without chipping?
Conclusion
Must-have nail gel polish and accessories empower you to achieve professional salon results from the comfort of home with practice and quality tools. Investing in reliable UV/LED lamps, professional-grade gel systems, and proper nail care accessories transforms your manicure experience while protecting nail health. Master the techniques outlined here, avoid common mistakes, and maintain consistent nail care routines to enjoy beautiful, long-lasting gel nails for every occasion. Explore premium gel polish collections and essential accessories to start your journey toward perfect nails today.